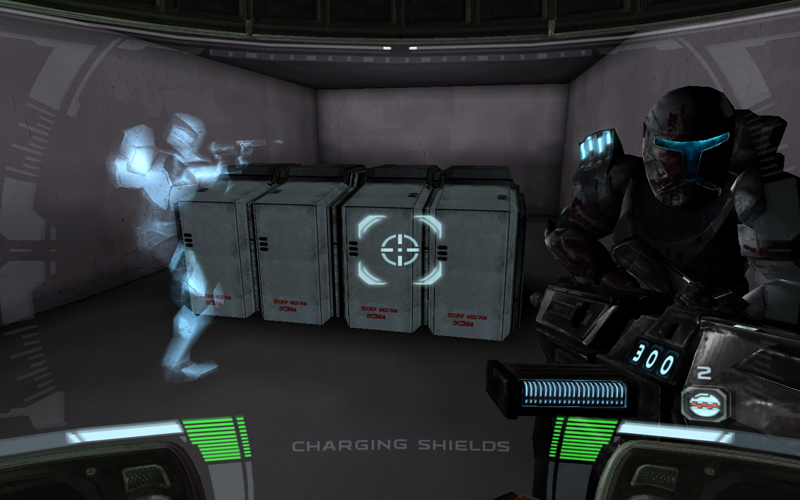
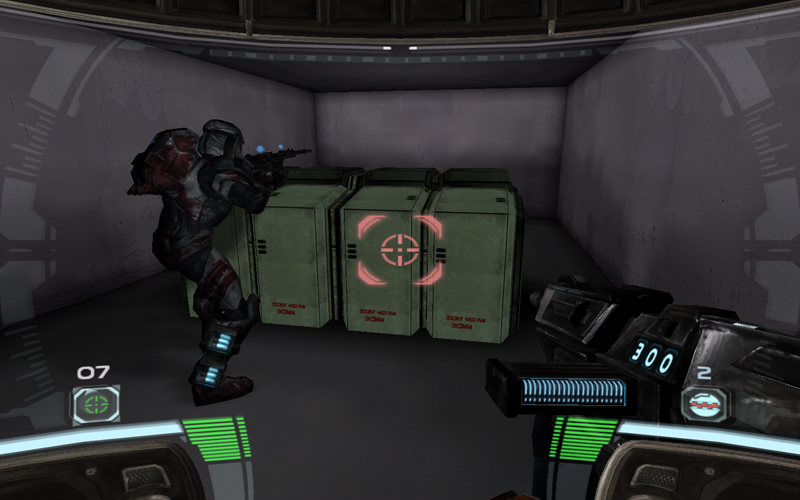
Ok so let’s start with a basic room: you have your lights so you can see, a player start, and at least one commando to test your markers with.
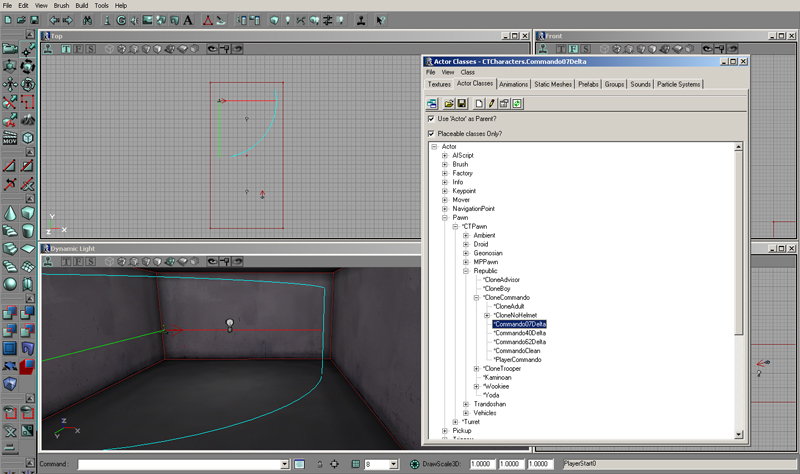
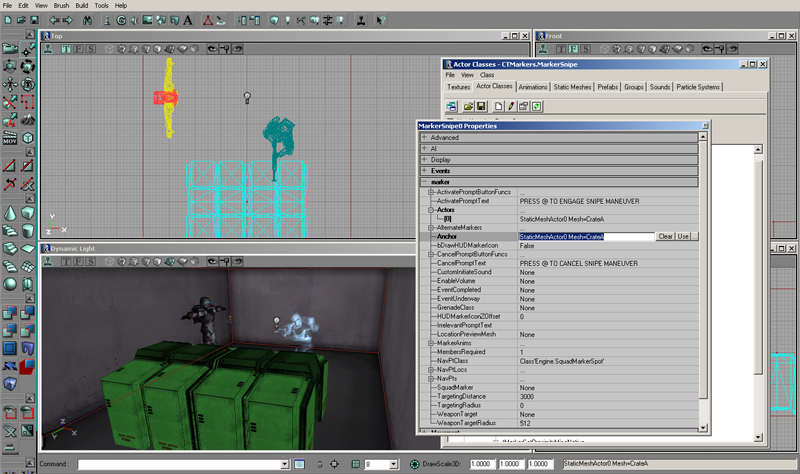
We’ll start with a sniper point so the first thing you’ll need to do is head to the actor class browser and place a static mesh which will be the anchor for the marker, and then place the sniper squad marker.
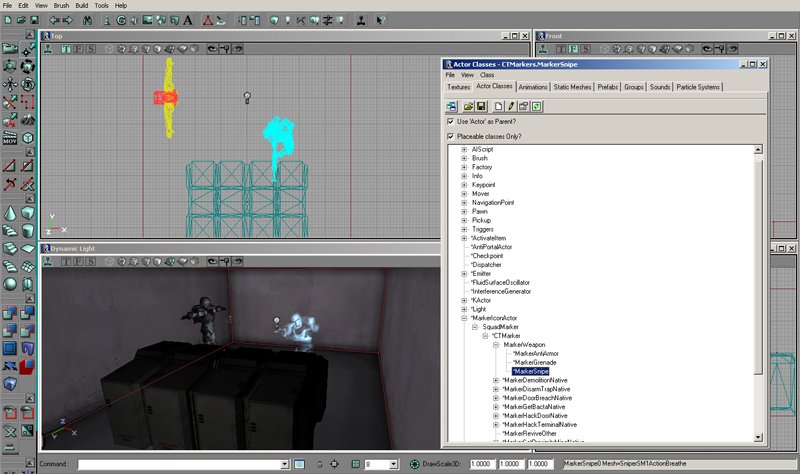
Once you’ve got those placed double click the squad marker to bring up the properties. Under the “marker” heading find “Actor” and “Anchor”. First click “Actor” then click “add”, select your static mesh, then click “use”. Then click “Anchor” and once again hit “use”.
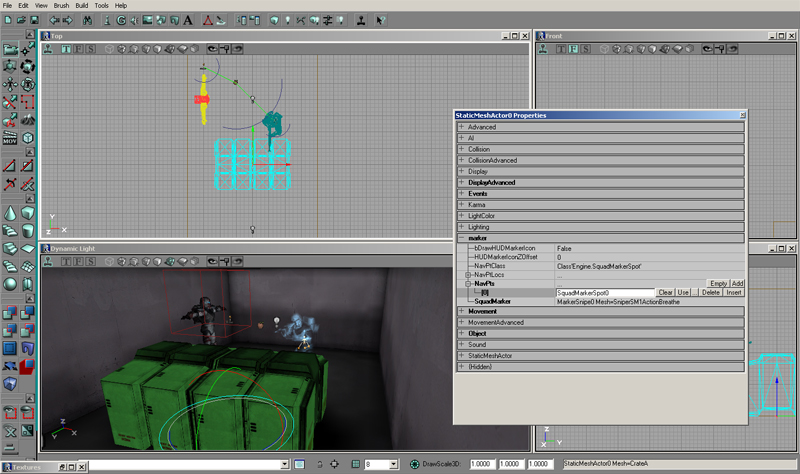
Now double click your static mesh, find the “marker” heading, find the “SquadMarker” subheading, select the squad marker you placed in the map and once again hit “use”.
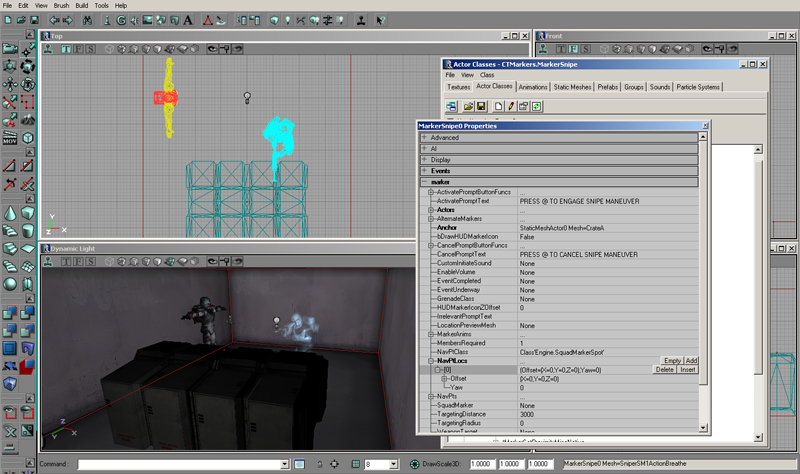
Now head back into your squad marker properties, go to the “marker” heading once again, find “NavPtLocs”, click “add.” then go to the editor's “Build” menu and click “Rebuild AI paths”. This will place a nav marker in your map.
Once again open up the static mesh properties, navigate to the “marker” heading, find “NavPts”, click “add”, select the nav marker that was placed in the map and hit “use”.