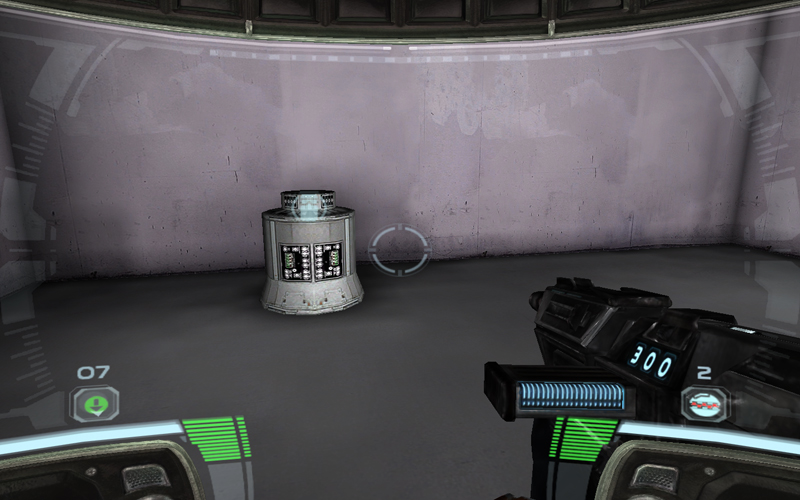
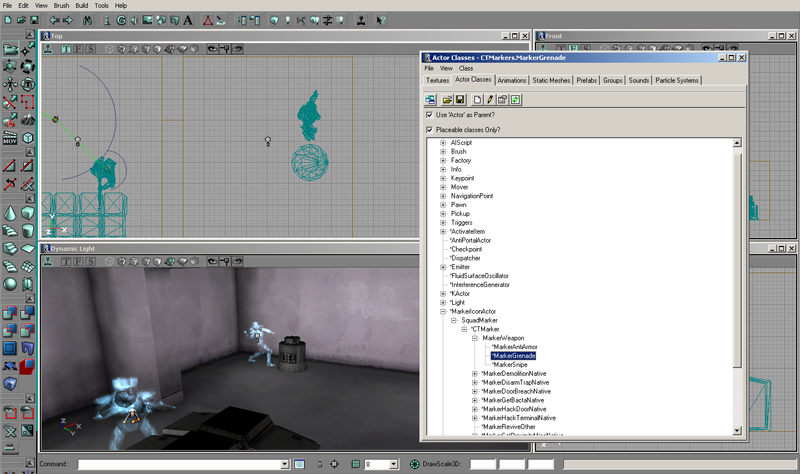
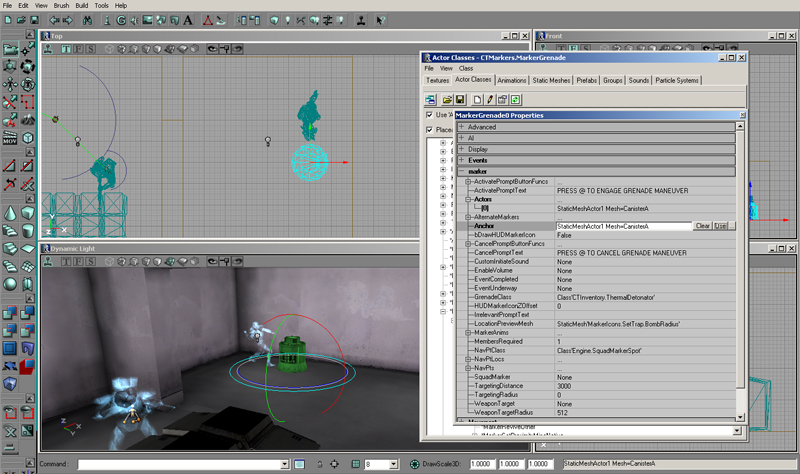
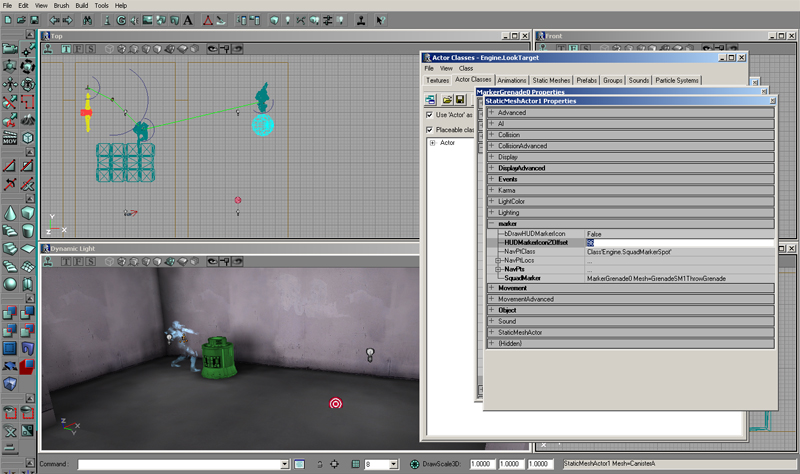
Ok next up let’s setup a grenade marker! First we’ll expand our room so we have more space to work with. Once you have that done once again place a static mesh to use as an anchor and the appropriate squad marker from the actor class browser.
Now we just have to set it up exactly like the sniper point.
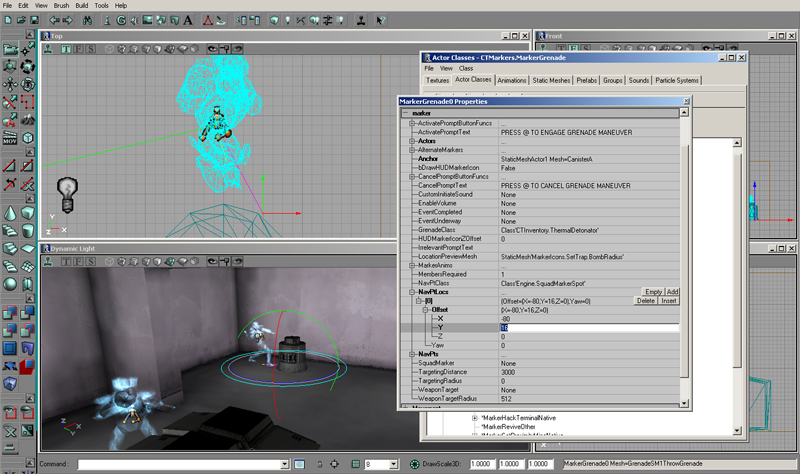
The only difference is that you will have to make use of the “Offset” values under “NavPtLocs” subheading to center the nav point where it should be.
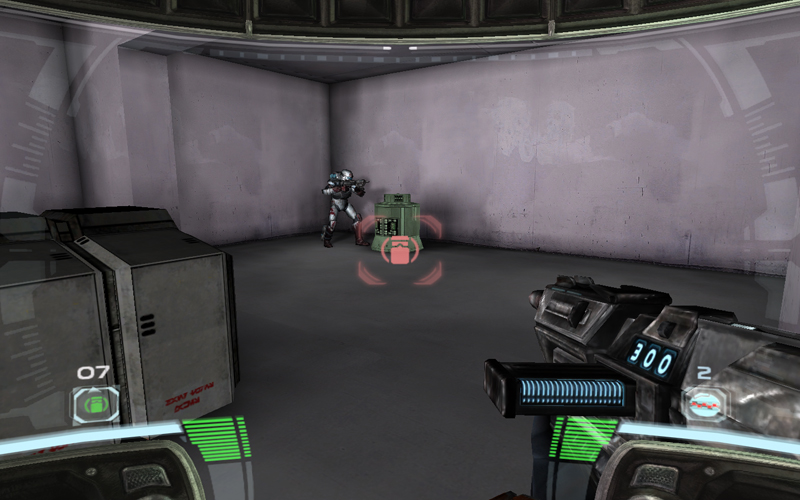
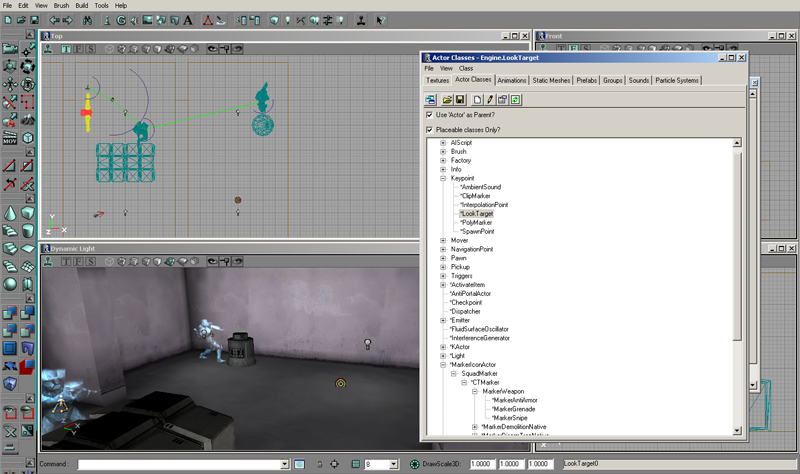
Once you have everything setup open the actor class browser and under “Keypoint” find the “LookTarget” - this is where the grenade is going to be thrown - and place it in your map as desired.
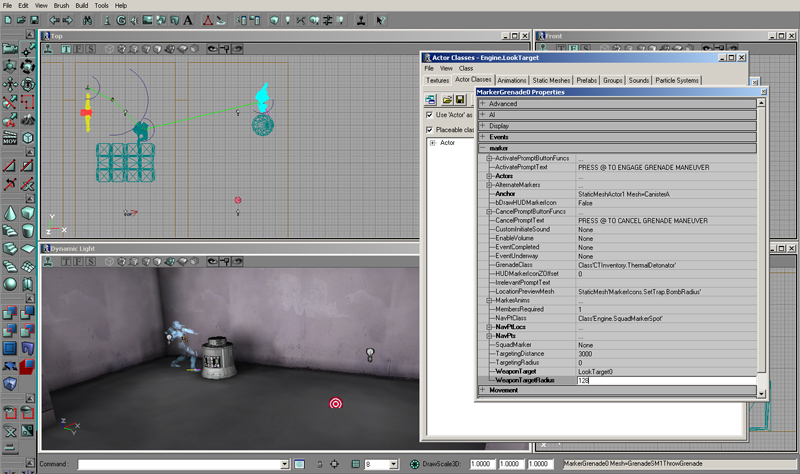
Once again open the squad marker propties find “GrenadeClass” and set as needed, and find “WeaponTarget”, select the “LookTarget” you placed in the map, then hit “use”.
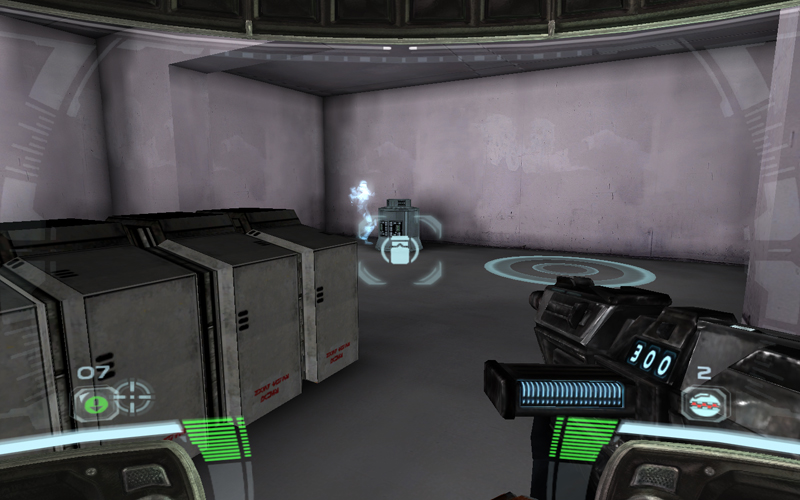
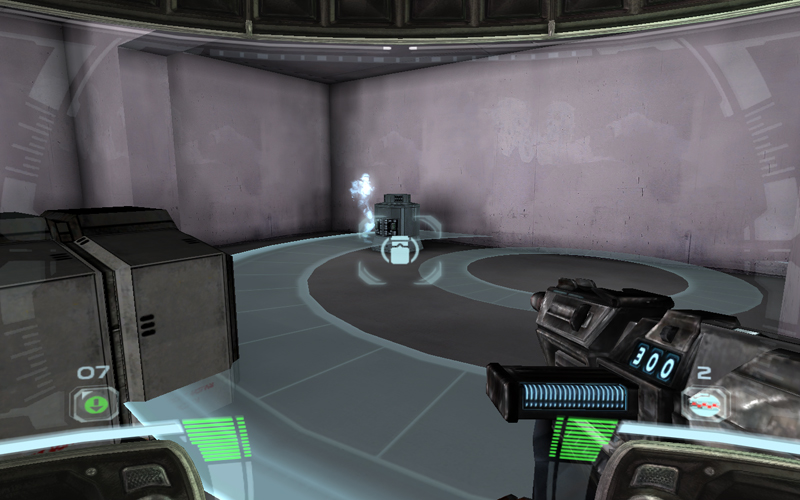
Two other settings you may wish to change are the “HUDMarkerIconZOffset” (located in the static mesh properties) which changes where the squadmarker icon in the static mesh is displayed along the Z axis (up and down). As well as the “WeaponTargetRadius” which effects the size of the visiual indicator showing where the grenade will be thrown.